Uploading
ARCS makes it easy to get your research in the cloud. Navigate to the uploader
from anywhere in ARCS by clicking Upload in the top-right corner.
Using the uploader
To start uploading, drag one or more files into the uploader, or choose some
with the file browser by clicking Add files....
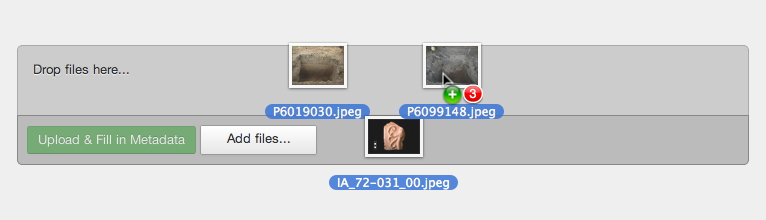
ARCS supports most image and document formats. You can upload JPEGs, PNGs, TIFFs, PDFs, Word Documents, RTFs and several other formats. Video and audio files are not currently supported.
After you've selected your files, they'll appear in the uploader and begin
uploading immediately. Each upload's progress is shown in a blue bar. This
will change to Done when the file is finished uploading. You can remove a file
at any time by clicking the × next to it.
Each upload has a title, identifier and type field that can be filled in. A title is a more colloquial name for an object and the identifier is a unique name for a resource that could have information stored in the name. You should at least provide a title and type for each upload, but you can add the rest later.
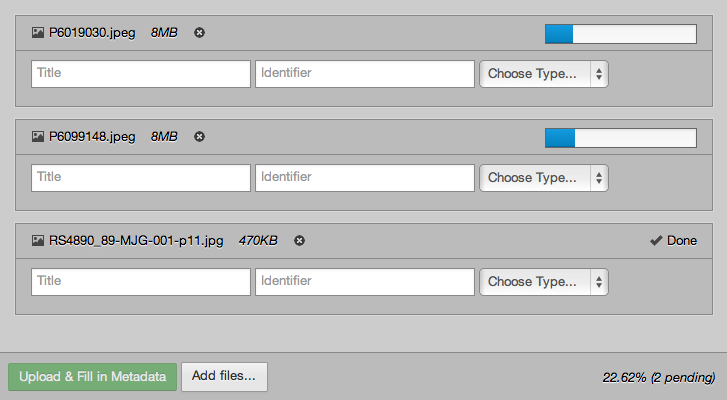
When everything has finished uploading, the total progress changes to All
Done and the Upload & Fill in Metadata button is enabled. Although the files
have already been uploaded, they are not resources just yet. That happens when
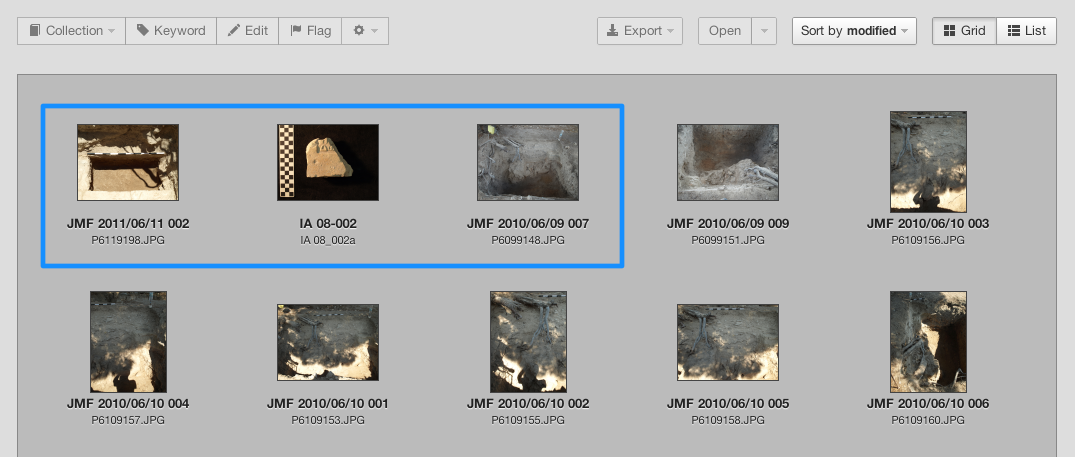
you click Upload & Fill in Metadata. After clicking, you'll be redirected to
the search page, where you can apply additional metadata to the newly uploaded
resources using the batch editing tools.
Using the basic uploader
If your browser has trouble with the batch uploader, you can also try our basic
uploader, which allows you to upload files one at time. It's not very fancy,
but it provides a way for users unable to upgrade their browser to upload
resources. Navigate to the basic uploader by clicking Basic on the uploading
page.
You can then enter the title and the keyword associated with the resource and select the type of the resource from the drop down as shown below:

Troubleshooting
If you have trouble uploading, here's what you can do:
Upload failed
Sometimes uploads can get lost in transit, or the server fails to process your request. In this case, just refresh the page and try again. If the problem persists, let us know.
File size too large
Each upload can be up to 100 megabytes in size. If a file is larger than that, you'll see an error message. Often, these large files are high resolution PDFs. When that's the case, here are two solutions:
- Reduce the file size using Acrobat (or Preview, on a Mac).
- If you'd rather not reduce the image quality, you can also upload the PDF in
pieces, and use
Add to collection...to put the pieces back together.
Upload timed out
Each upload may take a maximum of 6 minutes. If your internet connection is slow and the file is especially large, it may timeout.
Missing thumbnails or pages of a split PDF
Sometimes our image processor will fail to make a thumbnail or will skip a page of a PDF. You can ask it to try again, through the reprocess dialog on every resource page.
Have a different problem? Let us know at help@cal.msu.edu and we'll try to help.
